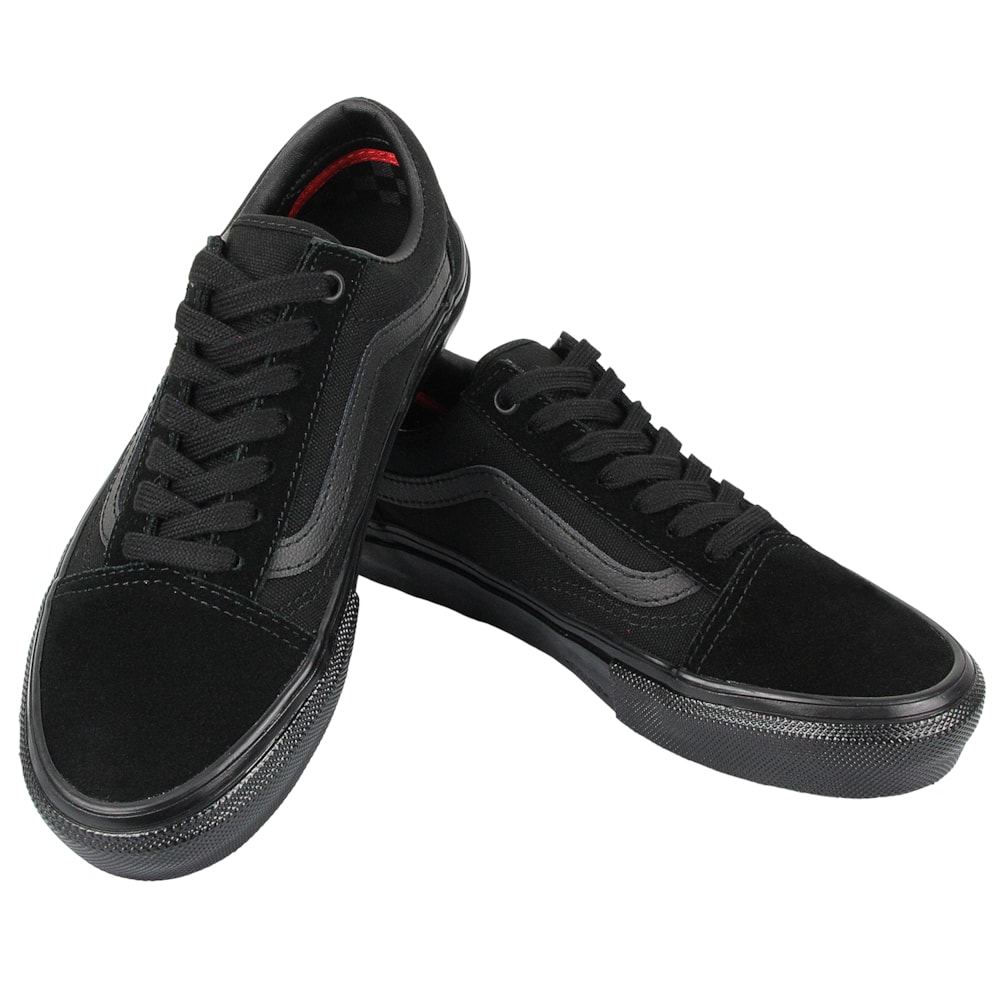


Decide whether the shoe is repairable before adding glue
A repair makes sense when damage is local and the shoe still feels stable: a small hole in the ollie panel, a lifted edge of foxing, an exposed stitch or a lace that keeps contacting grip tape. Repair is a poor choice when the outsole is separating across a large area, the heel collapses sideways, the tread is smooth through the landing zones or cushioning no longer rebounds. Cosmetic life and structural life are not the same.
Inspect both shoes in bright light. Flex the forefoot and watch whether a gap opens between upper and sole. Press the heel from side to side, look inside for torn lining and remove the insole to check the strobel or lasting board. A patch can restore abrasion resistance, but it cannot recreate compressed foam or a stable platform. When the shoe changes how you land, replacing it is safer than extending it.
Clean and prepare the damaged area
Adhesive fails on dust, loose fibers and old wax. Brush the damaged area, trim only threads that are already detached and wipe rubber surfaces according to the adhesive maker's directions. Suede and canvas should be dry before work begins. Do not soak the shoe immediately before repair; trapped moisture weakens the bond and can create odor inside a patch that appears sealed from the outside.
Rough rubber can accept adhesive better than a polished contaminated surface, but sanding should be light and limited to the repair zone. Masking tape around the edge helps create a controlled patch instead of a thick smear. Stuff the toe with paper or a shoe tree so the upper holds its natural shape while the repair cures. Wear gloves and work with ventilation when the product label calls for it.
Patch an ollie hole before it spreads
For a shallow suede abrasion, a thin flexible coating can protect the remaining fibers. For a true hole, place a durable backing patch inside the upper before sealing the exterior. The inside patch spreads stress beyond the torn edge, while the exterior layer keeps grip tape from catching the opening. Round the corners of fabric or suede patches because sharp corners lift more easily during repeated flex.
Build thin layers rather than one heavy mound. A thick rigid repair changes flick, takes longer to cure and can peel as a single piece. Let each layer level and follow the full cure time on the package, not the point when the surface merely feels dry. Skating too early traps soft adhesive beneath a skin and turns a clean patch into a sticky edge that collects dirt.
Handle sole separation differently from upper abrasion
A small lifted foxing edge can sometimes be rebonded if both mating surfaces are intact. Open the gap only enough to clean it, apply the recommended amount of flexible shoe adhesive, press the pieces into their original alignment and hold them with tape or gentle clamping. Excessive clamp pressure can squeeze out all adhesive or deform the toe, so the goal is steady contact rather than crushing force.
Large separation around the heel or a crack that travels through the outsole is different. Those areas carry landing loads and flex repeatedly. Reattaching a broad failed bond at home may look successful while standing, then open without warning during a session. If the midsole is exposed, the cupsole is distorted or the rubber has become brittle, retire the shoe from skating even if it remains usable for yard work.
As an Amazon Associate, we may earn from qualifying purchases.
View the mid-guide match on AmazonProtect laces and eyelets
Broken laces often come from one or two exposed crossings near the front foot's flick zone. Replace frayed laces before they snap, then experiment with skipping the most vulnerable external eyelet or routing a short segment beneath a tongue keeper when the shoe allows it. The shoe still needs even tension; over-tightening upper eyelets to compensate can create pressure and does not solve the abrasion point.
A torn eyelet requires reinforcement behind the hole, not simply a knot through weakened material. A small internal patch can distribute lace tension, but repairs close to the shoe opening must remain smooth so they do not rub the foot. Hidden lace loops built into some models are useful for heavy wearers. When shopping for the next pair, note exactly where the old laces failed and compare construction in that zone.
Make preventive repairs while the shoe is still intact
The best time to reinforce a predictable wear spot is before daylight shows through it. After several sessions, inspect the leading side of the toe, the ollie panel, lace crossings and the edge where foxing meets the upper. A very thin protective layer in the exact high-contact area preserves feel better than a broad coat across the entire toe. Marking wear patterns also helps distinguish technique-specific damage from a poor fit.
Rotate shoes if possible and let each pair dry between sessions. Damp lining stretches, adhesive remains stressed and odor builds when the same pair is used continuously. Keep shoes away from direct heaters, which can harden rubber and damage bonds. Clean grip tape cuts more aggressively than worn tape, so a new deck may call for earlier inspections even when the shoe model has lasted well before.
Know when to retire a repaired pair
A successful patch should remain flexible, stay attached at the edges and leave the shoe's platform unchanged. Stop skating the pair if the patch creates a pressure point, adhesive contacts skin, the sole twists more than the other shoe or traction disappears under the forefoot or heel. Multiple overlapping repairs can also make the upper stiff and unpredictable, especially around the flick zone.
Replacement is not failure; skate shoes are consumable equipment. Use the old pair as evidence for the next purchase. A clean hole in the upper suggests more reinforcement or suede, repeated heel discomfort suggests more impact protection, and a smooth outsole suggests a more durable rubber or a rotation strategy. The useful goal is not keeping one pair forever, but getting consistent sessions without trusting damaged structure.
People also ask
Questions that extend this decision
How to Repair Skate Shoes—and When Not To: Can a hole in a skate shoe be repaired?
A small upper hole often can be backed from inside and sealed outside with a flexible shoe-repair product. Large tears near structural seams or the sole need more caution and may justify replacement.
How to Repair Skate Shoes—and When Not To: How long should shoe adhesive cure before skating?
Follow the exact product label. Surface dryness is not full cure, and skating early can pull a soft bond apart. Many products require substantially longer than a few hours.
How to Repair Skate Shoes—and When Not To: Can a separated skate-shoe sole be glued back?
A small intact edge may be repairable. Broad heel separation, distorted cupsoles, brittle rubber or cracks through the outsole are poor home-repair candidates because they affect the shoe's structure.
How to Repair Skate Shoes—and When Not To: Is it worth repairing worn skate-shoe tread?
No home patch reliably restores the original tread pattern and predictable grip across a large landing zone. When the outsole is smooth or worn through, replace the pair for skating.
Final verdict
Choose the tradeoff you understand.
Small upper holes can often be patched; outsole separation, compressed cushioning and unstable structure are signs to replace the pair. Fit comes first, the repeated session demand comes second, and the exact current product identity comes third. Use Amazon to verify sizes and options without relying on stale price or stock claims.
As an Amazon Associate, we may earn from qualifying purchases.
Check current options on Amazon